Image Map
Showing posts with label Made By Me. Show all posts

Monday, September 1, 2014

Made By Me Mondays: Rainbow Tissue Pouf for Baby's Room

As you know from my post back in March, my husband and I had our first baby this year!! He is such a little joy and we love him so much. I'm sure some of you know the feeling of wanting to give your child the best things possible. 

When he was still on the way, we kept getting the question of "what theme did you choose for the nursery?" While this was a thoughtful question, it also added bit of a stress because I felt like I had to make his nursery perfect and coordinate the fabrics, stuffed animals, sheets, pictures, paint and all that goes along with the nursery. Needless to say this did not happen!

We wanted to have a superhero themed room but they don't sell a lot of Batman themed items at Babies R Us (which is a little disappointing). Anyways, we ended up getting a bunch of random gifts from family and friends which turned out to be perfect! Now his room has a little bit of everything! I wanted to add something special that I made just for him. 


These Rainbow Tissue Poufs were perfect! While my son is developing his eyesight, they give him some colors to look at, there's different textures, and when you open the window, they are light enough to be moved by the breeze that comes in. 

We originally had these above my son's crib but I was worried that they would fall and he would get tangled in them in the night so we moved them over his changing table and now he can still enjoy them and be safe all at the same time!

Here is how you can make some of your own:

You will need:
Tape or something to secure them to the ceiling

Step 1:
Take 4 layers of Tissue Paper and fold them accordion style. (I used 4 and it worked great for the smaller poufs but the larger ones were a little bare. The bigger the pouf you are making, the more sheets of tissue paper you will need)

Step 2:
Tie your Embroidery Floss or string around the middle of your folded tissue paper. Make sure to leave enough slack on the end of the string so you can hang them from the ceiling

Step 3:
Cut the ends of the tissue paper to a point or a rounded end (or whatever other fun pattern you want)

Step 4:
Separate the layers of the tissue paper - pulling each layer away from the folded bunch and out so they form a circle once all the layers are separated.

Step 5:
Fasten the poufs to the ceiling using tape or whatever else you want to use!

 photo TheWellCraftedHome_zps26a4d5c3.png

Monday, September 23, 2013

Made By Me Mondays: DIY 5 Minute Fridge Magnets!

I recently read a post about how one blogger paid off over $27,000 worth of debt in just six months! That is pretty amazing am I right? I was inspired so the hubs and I talked about it and we decided that we were going to start abiding by some of Dave Ramsey's rules: 1) The Envelope Budget, and 2) The Snowball System for Paying Debt.

We don't have a ton of debt but we do have a credit card and my student loans from college. Those are killer!! We were actually considering buying a house and discovered that we could not afford anything in our area! I was so surprised! The main reason that we couldn't afford it was that so much of our monthly income was going to the student loans that the banks didn't think we could afford a big enough monthly payment for a house! My dreams of home-ownership were crushed and it was time for a change.  

Anyways, we committed to this budget system and I wanted to hang our envelopes up on the fridge but we don't have any fridge magnets....weird huh? I know..and since we just committed to not spending extra money, I didn't want to buy them so I decided to make them!


For this project you will need:

1) E-6000 glue or other strong glue (Click here to get yours where I got mine!)
2) Magnetic Strip
3) Glass Beads (like the kind that are about the size of a nickel)
4) Paper Towels

Step 1: Clean the glass beads with a wet paper towel


Step 2: Cut as many magnetic strips as you need but make sure to make them the correct size for your glass beads. I used 3 beads on each piece and I measured by lining the beads up on top of the magnetic strip.


Step 3: Before you glue anything onto your magnetic strips, make sure you are glueing them onto the correct side. I found out that my magnets were more magnetic on one side than the other so I needed to make sure that I glued the beads to the side that has two lines on it (see the picture below)


Step 4: Use your E-6000 glue to glue the glass beads to the magnets them to dry!


Step 5: Hang your cute new magnets up and enjoy!!


You can see in the picture above our envelopes that we use for our budgeting. We do $50/week for Eric's play money, $50/week for my play money, and $50/week for groceries since its just the two of us right now. I have to get our money out of the ATM each week and since you can only get money out of the ATM in multiples of $20, we always have $10 left over. My hubby came up with the great idea of adding a date night envelope and adding the extra $10 each week to that envelope. Once it hits $100 we have to use it! What a great idea from the hubs!

Now off you go to make some cute magnets and hopefully I've also inspired you to do a little home budgeting!!


 photo TheWellCraftedHome_zps26a4d5c3.png

Monday, August 19, 2013

Made By Me Mondays #19: Organized Bathroom Cabinet

As you all know by now, I'm pregnant and even though I'm not very far along, my nesting instincts are starting to kick in a little bit. I'm feeling the need to organize the heck out of my entire house! My first project was under the bathroom sink. 


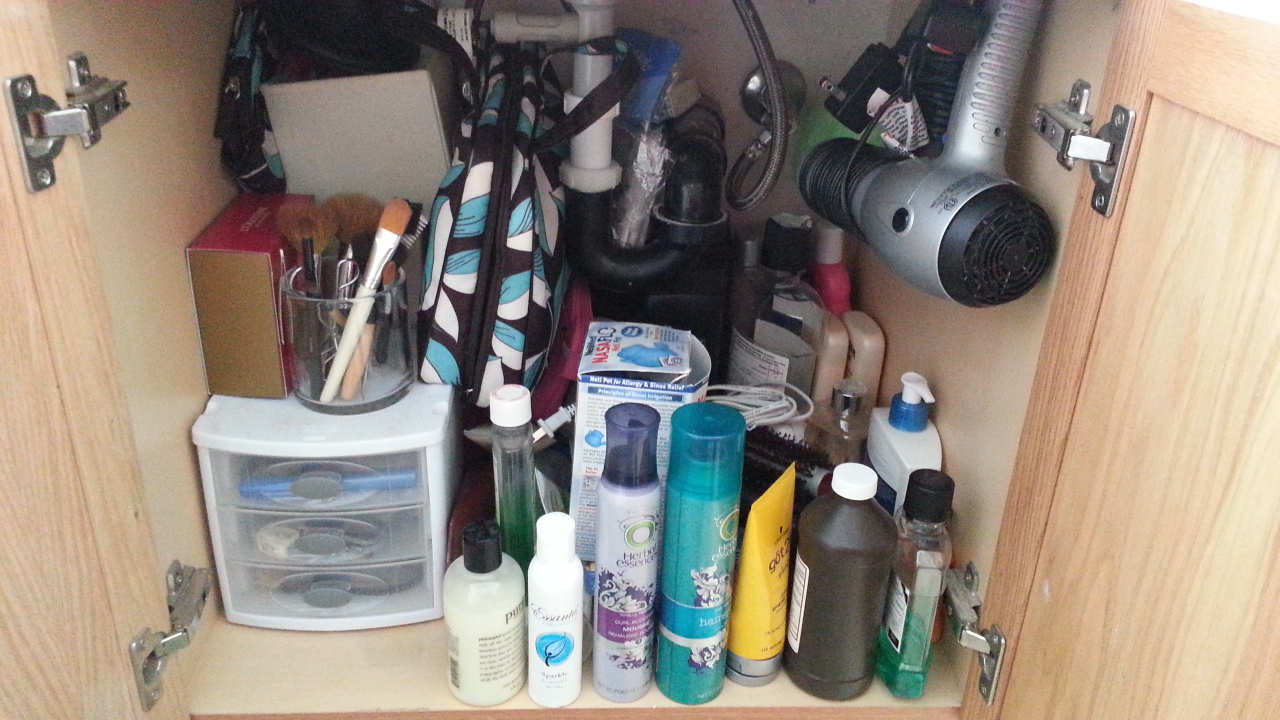
This area has always been a little unruly and hard to control. I forgot to take a before picture so I just grabbed one off Google that was close to what mine looked like (this is no joke):


So even though that is not my cabinet, it looked almost exactly like that. It was really difficult to find anything in the mornings and I had to do a lot of digging. Not to mention there was almost no room for my poor hubby!

Now take a look at what a little bit of motivation and a little bit of time did for my cabinet:


This new bathroom cabinet makes me feel so happy! Its so clean and organized and everything has a home. Here is how I did this project:

Materials you will need:
1) 8 Medium Clear Bins (I found mine here!)
2) 8 Small Clear Bins (I found mine here!)
3) 1 Wire Mesh Organizer (I got mine at Storables but you can find a similar one here!) - This item is for your hot tools like hair curlers and straighteners.
4) Label Maker/Silhouette
5) Museum Putty (You can find this at Storables or Amazon)
6) Over the door Hairdryer Holder (I love this thing and I got it here!)

Step 1

Be sure to measure your cabinet before you buy any bins. You want to make sure that what you buy will fit! Once you have all your products in hand, you want to clean out your cabinet.

Step 2

Arrange your new bins in the correct formation that you would like. I put the small ones in the middle so I didn't have to worry about any of the bins running into the drain coming down from the sink.


Step 3

Once you get your arrangement right, put some Museum Putty on the bottom of the bottom bin in each row. You want to make sure that you get some in each corner so that once you place your bins where you want them, they don't move.

Step 4

Continue to build your stacks of bins being sure to put a little Museum putty on the bins where they connect. Just for good measure, I put some of the putty on the sides of my bins too so I could anchor them down to the sides of the cabinet as well. 

Step 5

Fill all the bins up with whatever you would like!

Step 6

Once you have everything placed in the bins the way you want them, create some labels and your done!


I must give inspiration credit where it is due. I got the inspiration for this project from Alejandra.tv. Go check out her videos they are awesome!!

 photo TheWellCraftedHome_zps26a4d5c3.png

Thursday, December 6, 2012

My Delicious Homemade No-Bake Cookies! {Recipe}

Every once in a while, I get a craving for some chocolate! {Who doesn't?!} I'm a little picky though..I don't like just any chocolate...nope - I like delicious, melt in your mouth, peanut butter-chocolatey goodness!! And it needs to be easy to get. That is when I reach for my favorite cookie recipe!


Yum, right? I know :) Well I'll get to the good part - the recipe! Here it is:

INGREDIENTS:

Boiling Pot:
  1. 1/2 C Milk
  2. 1 Stick of Butter
  3. 2 C Sugar
  4. 1 tsp. Salt
Mixing Bowl:
  1. 3 C Old Fashioned Oats (you dont want to get the quick oats because you dont want them to get soft)
  2. 6 Tbsp Hershey's Cocoa
  3. 1 tsp Vanilla Extract
  4. 1/2 C Peanut Butter
DIRECTIONS:
  1.  Put the milk and butter together in a large pot on the stove. Heat until the butter is melted.
  2. Add the Sugar and Salt and bring to a boil.
  3. Let the ingredients boil for 1 minute. Remove from heat.
  4. Add the oats, cocoa, vanilla and peanut butter. 
  5. Stir ingredients together and scoop onto cookie sheet. Let cool and enjoy!
These are perfect for when you remember that you need to bring a dish to that Christmas party that you are leaving for in 30 minutes! Its quick and easy to make - it only takes about 10 minutes!

 I would love to hear your feedback if you give these a try!

 photo TheWellCraftedHome_zps26a4d5c3.png

Monday, November 26, 2012

Made By Me Monday #17! Magazine Holders

Ok I have to admit that Christmas season always makes me want to clean! I know its a little bit weird but it makes me crazy when all my hard work decorating for Christmas goes to waste because my house is to messy to even notice it.

To begin my quest for organized perfection, I decided to make some of these beautiful magazine holders that were inspired by this post over at Sew Many Ways.


For this project, you will need:
1) Cereal Boxes
2) Scrapbooking paper (or wrapping paper, paint, or whatever else you want to use to cover these)
3) Tacky Glue
4) X-Acto Knife
5) Measuring Tape
6) Pen

Step 1) 

Measure 5" up from the bottom of the box on the front and back of one side of the box. Draw a line connecting the two marks.


Step 2)

Draw a line connecting the 5" mark on one side of the box to the top corner on the other side of the box.


Step 3)

Cut along all of the lines you drew with the x-acto knife.


Step 4)

Use the tacky glue to cover one side of the box and lay the scrapbooking paper down on the box. Make sure not to make the glue to thick or it will make the paper crinkle. Cover all sides of the box this way.


Step 5)

Once the glue has dried, trim the paper down so there is just a little bit of overhang.


Step 6)

Fold the overhang over to the inside of the box so that it hides the cut edges of the cereal box and glue them down. Wait to dry and your done!


 photo TheWellCraftedHome_zps26a4d5c3.png

Sunday, November 11, 2012

Made By Me Mondays #16! {Nutella Muffins}

Ok so I work for a catering company and as a result, I get to try a TON of yummy food! The other day, our chef brought me a Nutella muffin and I fell in love! I decided to try and make it at home.

Let me try and make your mouth water here - This muffin was a soft, moist, vanilla flavored muffin with pockets of Nutella throughout. To top it all off, the top had a drizzle of (you guessed it!) even more Nutella. YUM right?

I had to have more.


I went to the store and bought:
1) Nutella (of course!)
2) Krusteaz almond poppyseed muffin mix (it was the closest to vanilla that I could find)

Step 1:

Mix all the ingredients together that it says to on the box but DON'T mix in the poppyseeds.

Step 2:

Spoon the mix into your muffin pan after you put the papers in it.

Step 3:

Put a dollop of Nutella on the top of each muffin (try melting it in the microwave a little bit first so that it spreads more evenly on the top of the muffin). Push it down into the muffin mix a little bit with a toothpick so that it makes a "swirl" of Nutella in the top half of the muffin.


Step 4:

Bake it like the box says.

Step 5:

Once they come out of the oven, have more slightly melted Nutella ready for them (See step 3). Drizzle the slightly melted Nutella on the top.

Step 6:

Let cool, grab a glass of milk, and enjoy!

As a variation on this recipe, you can put the dollop of Nutella in the middle of your muffin and just add the drizzle on top. That would be super yummy!

 photo TheWellCraftedHome_zps26a4d5c3.png

Monday, October 15, 2012

31 Days of Halloween!! {Day 15} Made By Me Banner!!!


So I'm going to kick off printables week with a Halloween banner that was made by me! Yay!

For this project, you will need:

1) Cardstock or heavyweight paper
2) Burlap or other fabric for the back of the letters (I used fabric from burlapfabric.com)
3) Bakers twine or other rope
4) Scissors
5) Mod Podge
6) Sharpie
7) Silver paint or Silver Sharpie paint pen

Step 1: 

Trace the letters onto the paper. I went online and found a cute Halloween font and traced it onto the middle of the triangles that I cut out from the cardstock.


Step 2:

Color in the letters with black sharpie.


Step 3:

Draw a smaller triangle "border" around the letters with the silver Sharpie pen.


Step 4:

Cut triangles out of your burlap or other fabric that are about a 1/2 inch wider than the triangles with the letter on them.


Step 5:

Use Mod Podge to attach the letters to the burlap and put books over them to keep them flat while they dry.


Step 6:

Cut the correct length of bakers twine to make a rope for your letters. 


Step 7:

Lay the letters out on the table backwards and flip them over so the burlap side is facing up. I know that my letters are not backwards but please do as I say and not as I do :) This will save you some time!


Step 8:

Put the bakers twine between the two layers and use Mod Podge to "glue" them down.


Step 9:

Hang them up! And yes, thats an awesome drawing of Eric and I being superheroes!! :)


Happy Halloween!!

 photo TheWellCraftedHome_zps26a4d5c3.png

Sunday, September 23, 2012

Made By Me Mondays #15! DIY Camera Strap


I had time to do a craft this week and that makes me SO happy!! The hubby and I just got a new camera but it didn't have a strap with it so I decided to make one :) Here is how I did it!

Things you will need for this project:

1) Decorative fabric of your choice - less than 1/4 yard
2) Interfacing fabric - less than 1/4 yard
3) 2 clasps
4) Sewing machine
5) Iron

Step 1)

Cut two strips of the decorative fabric to be about 1/2 inch wider than what you want your strap to be


Step 2)

Cut one strip of interfacing to be 3/4 inch thinner than your decorative fabric. Isn't this fabric SO cute?! I got mine at Ben Franklin Crafts (I am not getting paid or compensated in any way for this..I wish!! :) I couldn't find it on their site (I'm sure I'm not looking in the right place but you can get it here, here, or here!!

Step 3)

Lay the interfacing on your ironing board with the side that feels bumpy facing up. Lay one of the strips of your decorative fabric right side up on top of the interfacing fabric and iron them together. This will "glue" the two fabrics together and you should end up with the interfacing fabric on the back of your fabric strip.


Step 4)

Put the two sides of your decorative fabric together with the right sides facing eachother.

Step 5)

Sew one of the long sides, one of the short sides, then the other long side but leave one short side open.


Step 6)

Turn the fabric right side out through the small side that you have left open. Please take your time on this step because you don't want to rip the sides that you have just sewn.


Step 7)

Put the ends of your fabric through the loop of each one of your clasps.

Step 8)

On the side of the fabric that you sewed closed in step 5, sew a square with an X through the middle of it to secure the fabric together.


Step 9)

Do the same on the other small end of the fabric but fold the open end over so that it looks like its closed before you sew the square with the X through it.


Step 10)

Iron it flat and your done!


October 1st is a week from today! Oh my goodness how the time is flying this year! In order to celebrate Halloween properly, I will be hosting the "31 Days of Halloween" event!

I will be having a theme for each week in October where I will feature projects from all over the internet every day! At the end of the week I will be having a themed link party where you can link up your Halloween themed projects! Here are the themes so you can prepare!

Week 1: Halloween/Autumn Decorated Porches
Week 2: Halloween/Autumn Decorated Mantles
Week 3: Halloween/Autumn Themed Printables
Week 4: Pumpkins!!

Lets all get in the spooky spirit!
 photo TheWellCraftedHome_zps26a4d5c3.png