

I am always excited to share the crafts that my family and I have made! This week, I got together with my mom and my sister (my usual crafting partners) and created these awesome hurricane vases!

Here is the tutorial for how we created these!
Step 1: Assemble the "ingredients"
3 Little Vases (Dollar Store)
Glass Etching Cream (Michaels)
Painters Tape (Michaels)
Cheap Paint Brush (Michaels)
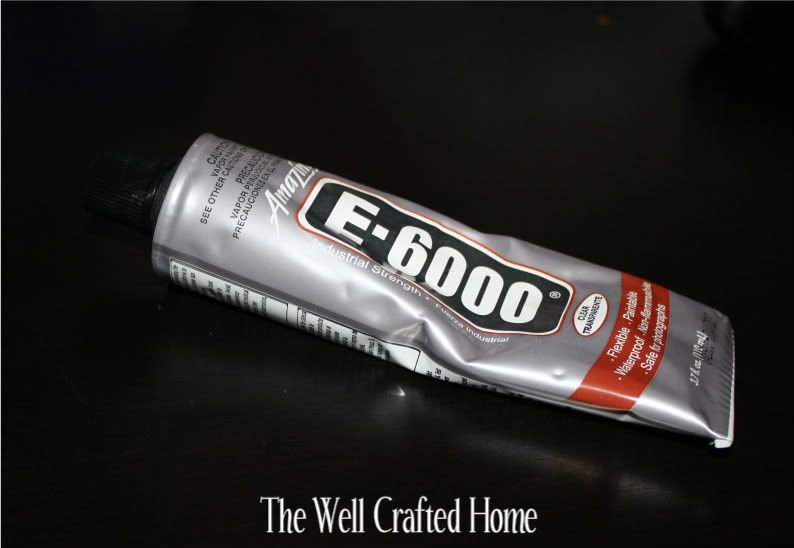
E-6000 Glue (Michaels)
Newspaper
Step 2: Etch the small vases
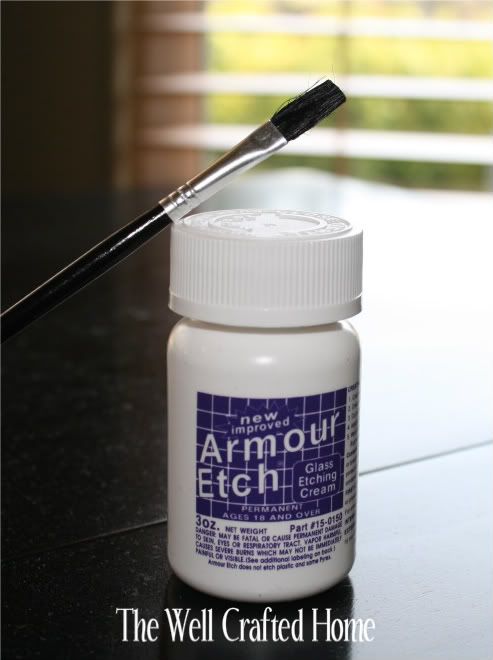
Get paintbrush and etching cream and lay down the newspaper over your surface (this stuff is made of chemicals that eat away the surface of the glass so you can imagine what it would do to your table! Yikes!)
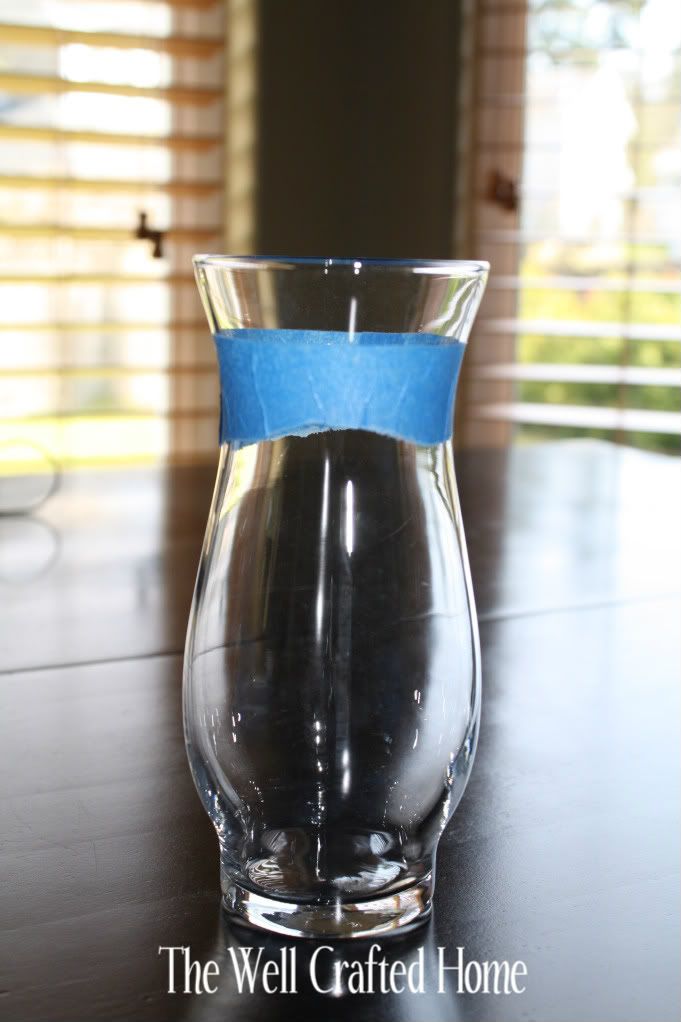
Tape off the area that you want to paint. Make sure there are no gaps!

Glob on the paint pretty thick and try to make it an even coat. Leave it on for 5 Minutes and wash off right away with luke-warm water.
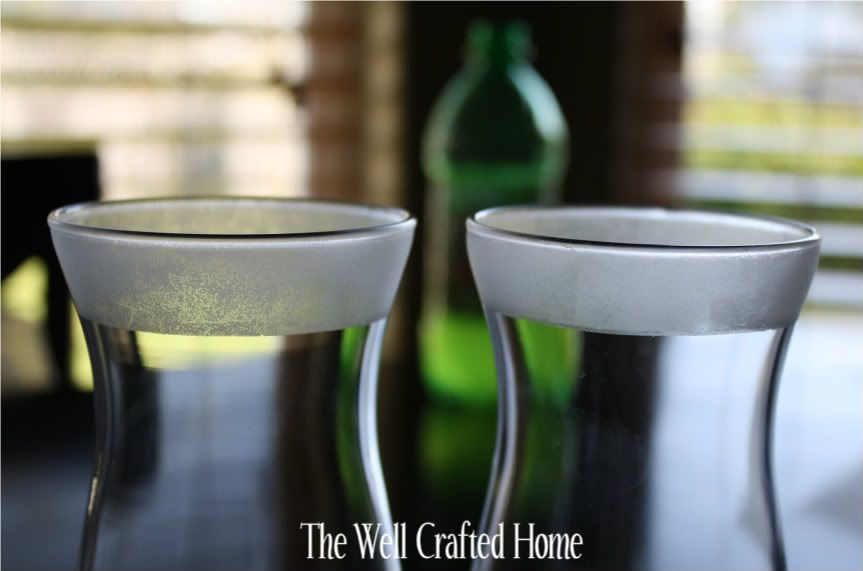
This is what it should look like when it is dry and you take the tape off. If you want to make the same set of these vases that I did, you should make three of these!
Step 3: Attach the base for the short hurricane vases (Total of 2 vases)
Start with the small frosted vases that we just finished.
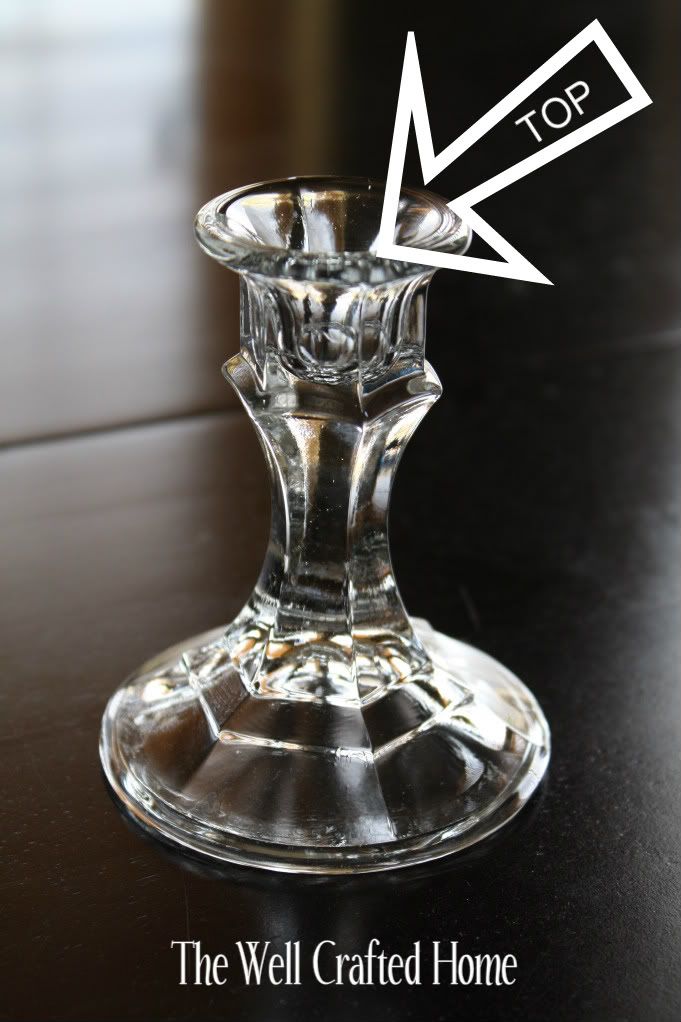
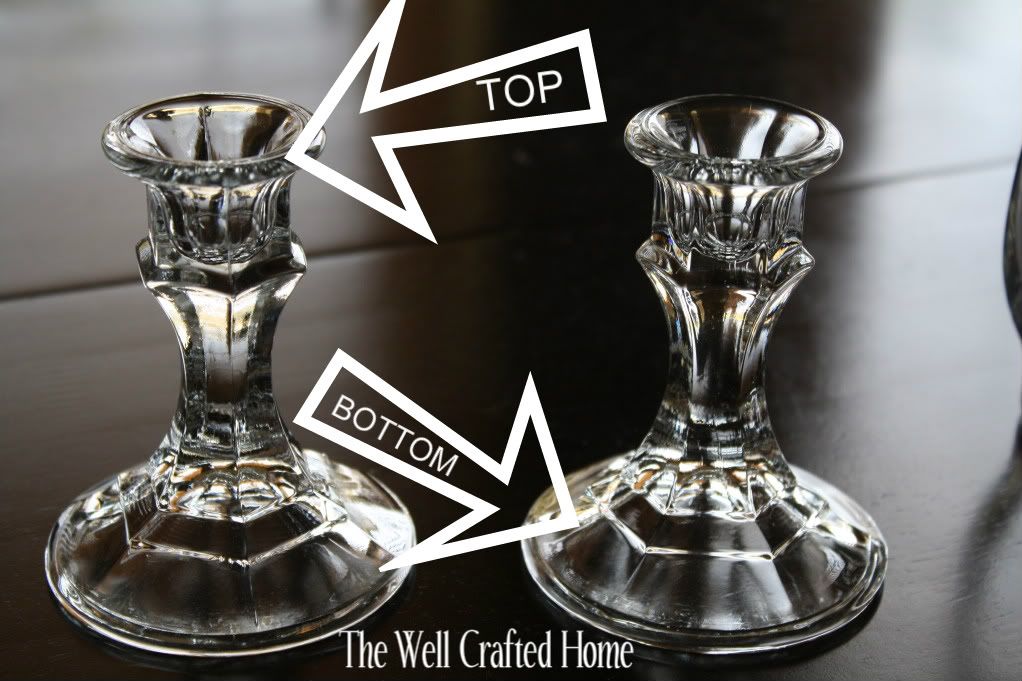
Grab the small candle holders (For the small hurricane vases you will only need one of these)
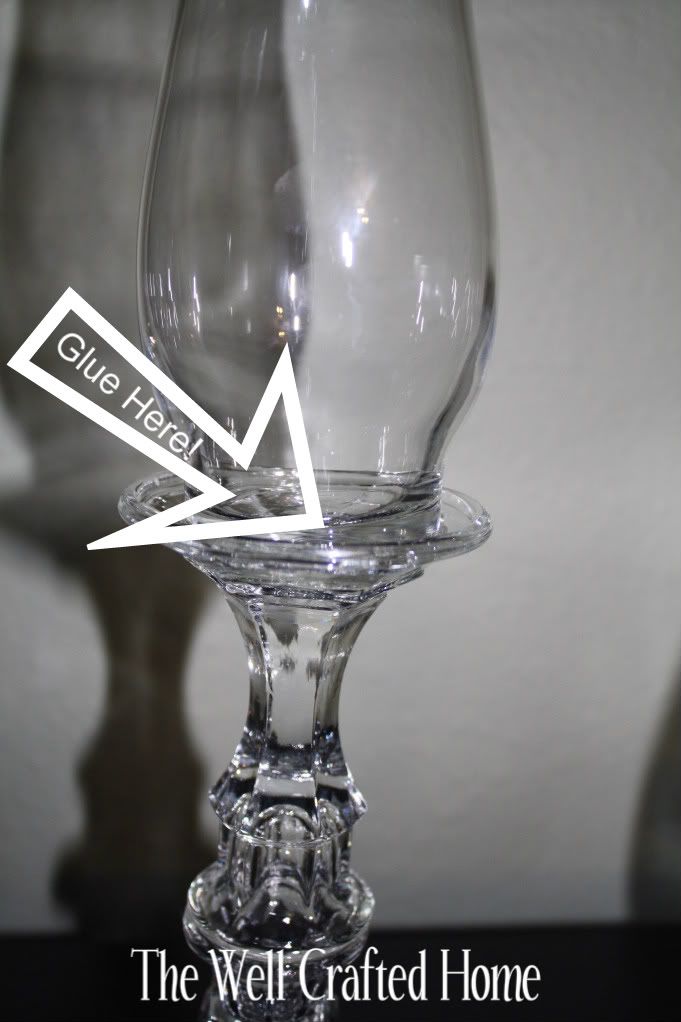
Add some of the E-6000 to the TOP of the small candle holders
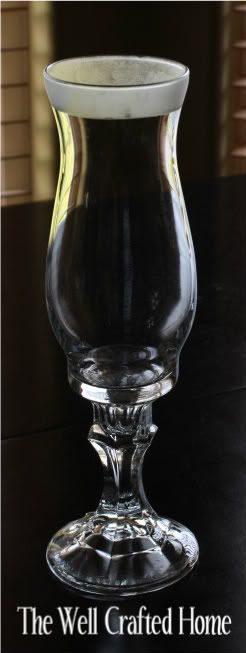
It should look like this when you are finished. But make sure to give it enough time to dry!
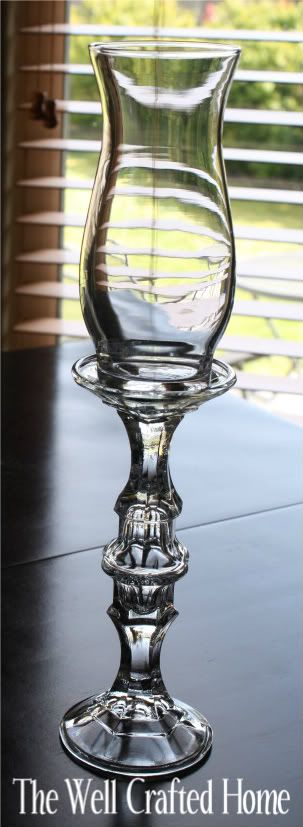
Step 4: Attach the base for the large hurricane vase (Total of 1 vase)
Again, we are going to start with the frosted small vases that we made in step 1.
Grab 2 of the small candle holders for this one!
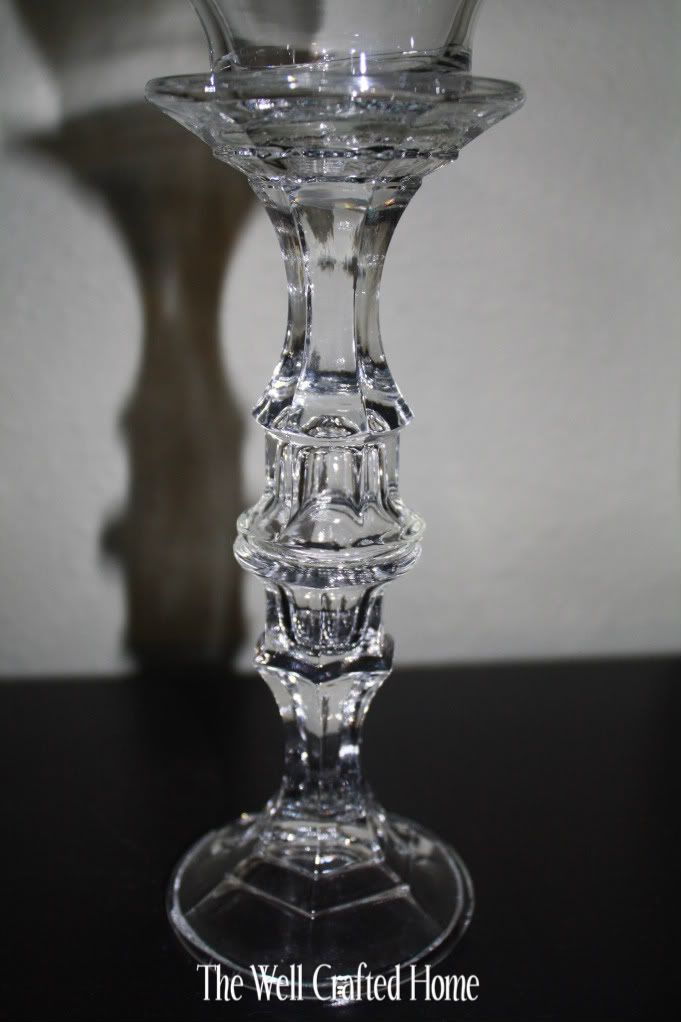
Glue the tops of the two small candle holders together with the E-6000. Let dry.
Glue the base of the small frosted vases to the top of your two glued together candle holders with the E-6000. Let Dry.
When I finished all of the 3 vases that I made, I put a little bit of uncooked rice in the bottom and added some small pillar candles. Here is what they look like finished!

Send me a message if you have any questions! I cant wait to see your projects!

Lauren! These are so pretty!! :D
ReplyDeleteLauren! These are so pretty!! :D
ReplyDeleteThanks! :D
DeleteThis looks so beautiful and such a lovely idea...I love how you varied their heights with the double candlesticks and the step by step instruction is really helpful:)Wonderfully creative!Thanks for sharing!Visiting from Make it Great Monday party. Happy crafting!~Poppy
ReplyDeleteThanks so much! This was not at all what I was thinking of making when I set out to do some crafting that day...it was kind of spontaneous! Those are the best craft days though! :D
DeleteThese look super pretty, love that you went the little bit extra and added the etching to the tops. Makes them look expensive!
ReplyDeleteCame by from Flamingo toes, we're neighbours!
Thank you so much! This etching cream that I bought was a bit expensive (more so that I though it would be) but it worked great! I was at Michaels yesterday though and I saw that Martha Stewart has some "etching effect" paint. I'm not sure exactly how it works but it was about half the price! I was so bummed that I didnt see it before! But I thought I would share that :)
DeleteVery nice, and so creative. The etching really adds a great touch. Thanks for sharing at Handmade Tuesdays.
ReplyDeletegorgeous results, and perfect for a DIY wedding or any occasion! thanks so much for sharing on craft schooling Sunday!
ReplyDeleteThanks SO much for sharing your project at my A Touch of Vintage!! Hope you can keep coming back!! ;)
ReplyDeleteOh I will definitely be back for more! :) I love to see what others create! Thanks for the party!
Deletesuper cute, great idea! love your blog, i'm a new follower.
ReplyDeletestop by mine sometime and say hello :)
cadeedee.blogspot.com
Hey! I'm glad you found my linky party! I just love what you did here - and the best part is that you made them completely by yourself! So Drab to Fab!!
ReplyDeleteBelow is the link for today's party! Come on back and link up some more of your posts (old or new)
http://www.amynjesse.com/2012/04/drab-to-fab-link-party-14.html
Have a lovely weekend :)
Amy @ Sugar and Spice
Thanks for sharing on The Blog Guidebook's Crafty Bees new linky party! Great ideas here and I love your blog!
ReplyDelete