Image Map
Showing posts with label Picture Frame. Show all posts

Monday, May 21, 2012

Paint Chip Calendar

I love things that make me more organized and I love them even more when they are cute!! Check out this Paint Chip Calendar from Julianne and Sew Fantastic!


I love that this is easy, beautiful, and inexpensive! I also love that it is 100% customizable! Putting it in the frame like Julianne did makes it into a dry erase board so that your beautiful calendar will last as long as you want it to!

Thanks Julianne for the awesome project! You can find the tutorial here!


 photo TheWellCraftedHome_zps26a4d5c3.png

Sunday, May 13, 2012

Made By Me Mondays #5: Popsicle Stick Art

Yay!! Its Monday! That means that I get to share my project from this week! :)


I have been on a mission to make the walls in my home full instead of bare and I think my mission is coming to an end! We don't really have a big home, its a two bed, one bath condo so I don't have a ton of wall space. I put my Peacock Mirrors from last week over our bed finally! (Click here to see how I made these!) Take a look:


Ok! Now on to this weeks project! I created some other art for our bedroom :) I made this art out of popsicle sticks which was super awesome and super easy!!

By the way, I went to Michaels to buy some popsicle sticks and they had a package of 50 for $3.99 and they had a package of 1000 (yes..one thousand!) for $4.99. This seemed like a no-brainer decision for me!

I'm not sure what I'm going to use 1000 popsicle sticks for but I'm sure I'll find something!

So the supplies you will need for this project are:

Frame of your choice (Michaels) - I took the glass and stock photo out of the frame and just glued the sticks to the backing
3 different paint colors (Michaels) - I used the Americana Acrylic Paint in Deep Midnight Blue, Neutral Grey, and Snow (Titanium) White (I combined the white with some of the grey to make a lighter grey for my third color)
Popsicle Sticks
Paint Brushes
Mod Podge (or some other adhesive)
    Step 1: 
    Paint the backing of the frame black. This is the front part of the board that has the hanging hardware on it.

    Step 2: 
    Paint 15 popsicle sticks for each color so 15 blue, 15 dark grey, 15 light grey

    Sorry I was not a very good picture taker!!

    Step 3: 
    Cut up the popsicle sticks into different lengths for a dynamic, puzzle-type look


    Step 4:
    Use the Mod Podge to glue your puzzle art down to the black background

    Step 5: 
    Once you have all the pieces to your puzzle glued down, you can put it back in the frame! I chose to leave the glass our of the frame. It looked good both ways though :) Here is the finished product:


    This project was a little time consuming but I really love it! I want to do it on a larger scale and make it more of a centerpiece but we will see if I ever have the time to do something like that! :)

     photo TheWellCraftedHome_zps26a4d5c3.png

    Monday, May 7, 2012

    Made By Me Mondays #4: Monogram Peacock Mirrors

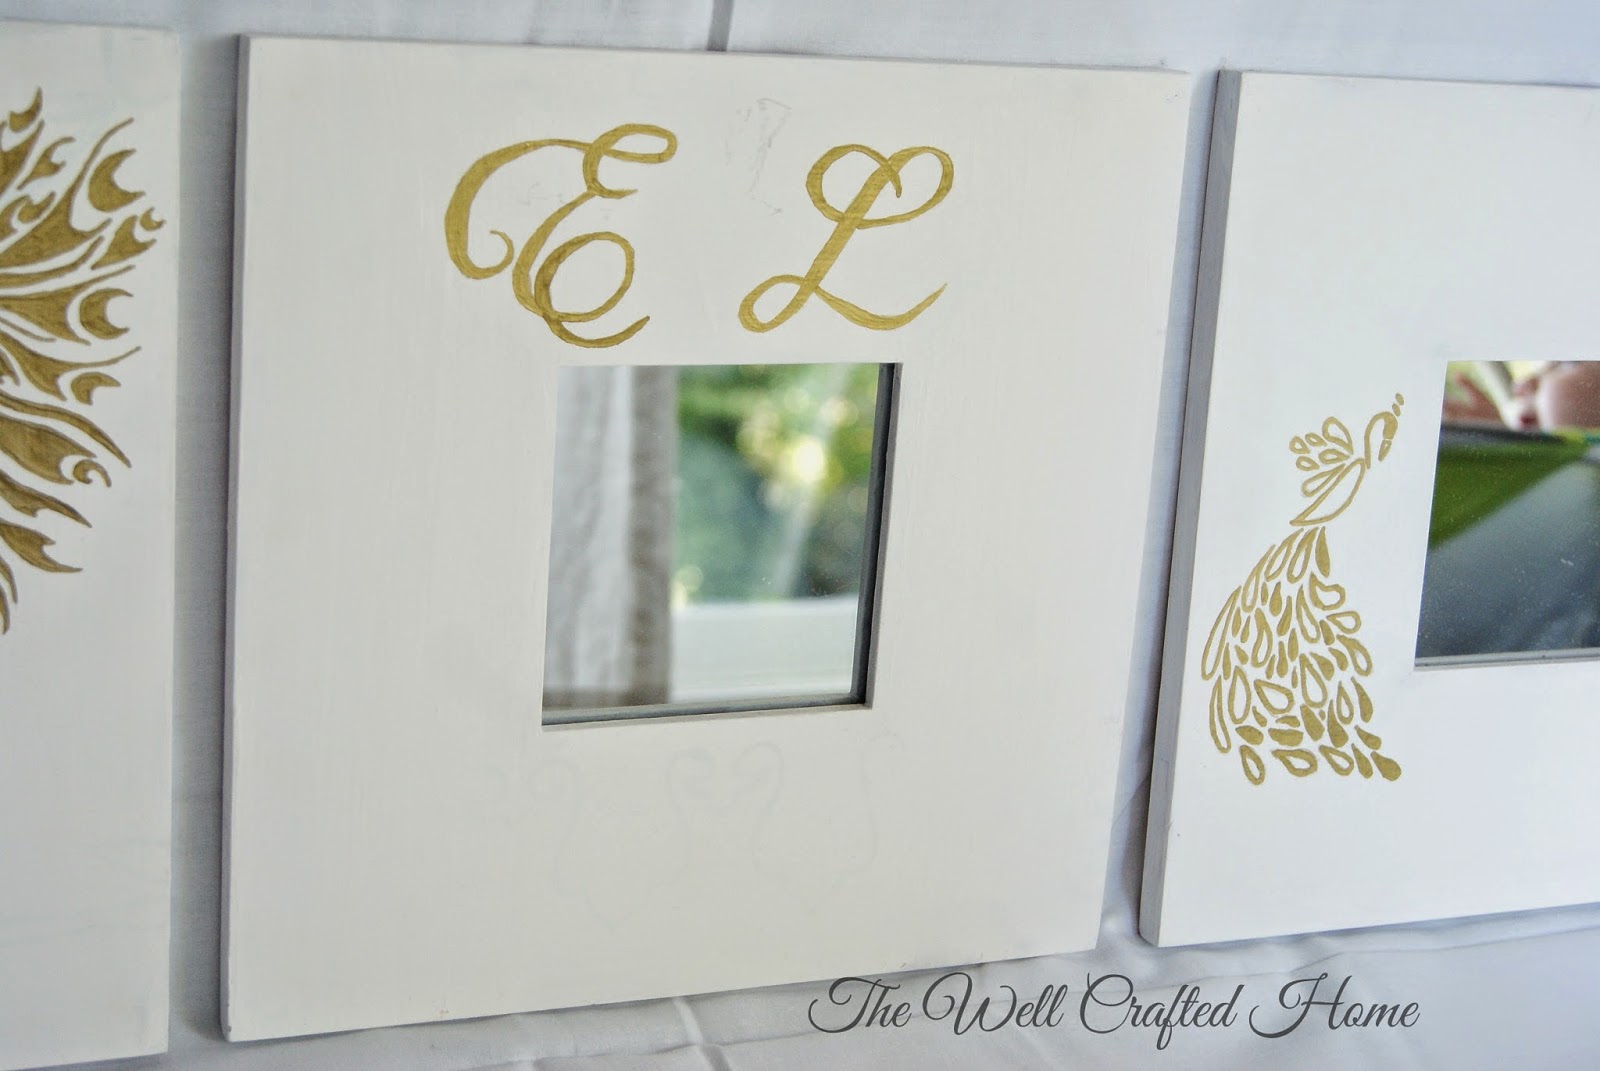
    I'm SO happy to be finished with these mirrors!! I've been working on them for two weeks now and I've only been able to do a little bit at a time but they are finally done!


    I found these red IKEA mirrors at a garage sale for $1 a piece


    I got three of them and I was thinking they would be beautiful above our bed! They have so much potential!!

    While I loved these mirrors, red does NOT go with our bedroom so I decided to paint them white and put a cute little design on them! I had a hard time picking out which design to do. I tried bamboo, a cute little boxy pattern, and a few other ones but nothing looked good...finally I decided on peacocks!! Here is how I made them (this is a pretty easy little project):

    Materials needed:

         1: Three square mirrors from IKEA ($1.00 per piece from garage sale)
         2: Painters tape (Michaels)
         3: White paint (Michaels)
         4: Gold paint sharpie (Michaels)

    Step 1: Tape off the mirror so you dont get paint on it. After you do that, paint your mirrors white (dont forget the edges!!). This might take a few coats :)


    Step 2: Find cute pictures of you and your husbands initials and put them on one of the mirrors using the gold paint sharpie.


    Step 3: Find a drawing of a girly looking peacock and put it on the second mirror.


    Step 4: Find a drawing of a manly looking peacock and put it on the last mirror.


    Step 5: Put them all together and hang them on the wall!


    I would love to see what you guys come up with if you take on a project like this (or any other project for that matter)!!


     photo TheWellCraftedHome_zps26a4d5c3.png

    Friday, May 4, 2012

    Key Art

    I love finding stuff to beautify my walls in my home! I am a newlywed so our walls are a bit bare but they are filling up!

    I did find one piece of DIY art that I would love to put up in my home! Its made by Courtney from A Diamond in the Stuff and It's a very clever way to re-purpose some old clutter lying around your home. It makes a really pretty and interesting piece.

    Take a look:


    Isn't this so cute?! I love this way of de-cluttering the junk drawer in your home! Make it into art!! Everyone has old keys lying around and they tell a story when they are used like this. It gives this art so much character!

    Here is a close up:


    Thank you Courtney for such an awesome idea! You can find the tutorial for this cool art here!

    **UPDATE!! I made my own key art too! Check it out here!**


     photo TheWellCraftedHome_zps26a4d5c3.png

    Saturday, April 28, 2012

    Leaf Skeleton Art

    I am always looking for beautiful art to put on my walls. My house has a very natural color scheme - lots of greens and browns. I can never find the perfect picture to put up because the colors conflict with the color on my wall.

    I have seen pictures of what looks like a SUPER thin leaf just floating in the frame and I love them! They look like this:
    I just found a tutorial on how to create them!

    Amy from The Idea Room found a great tutorial as well and then she showed us how to do it! I just love how it looks like these are floating in the frame. They look so natural and delicate. They are beautiful!


     photo TheWellCraftedHome_zps26a4d5c3.png

    Monday, April 23, 2012

    Made By Me Mondays #3: Chalkboard Menu!

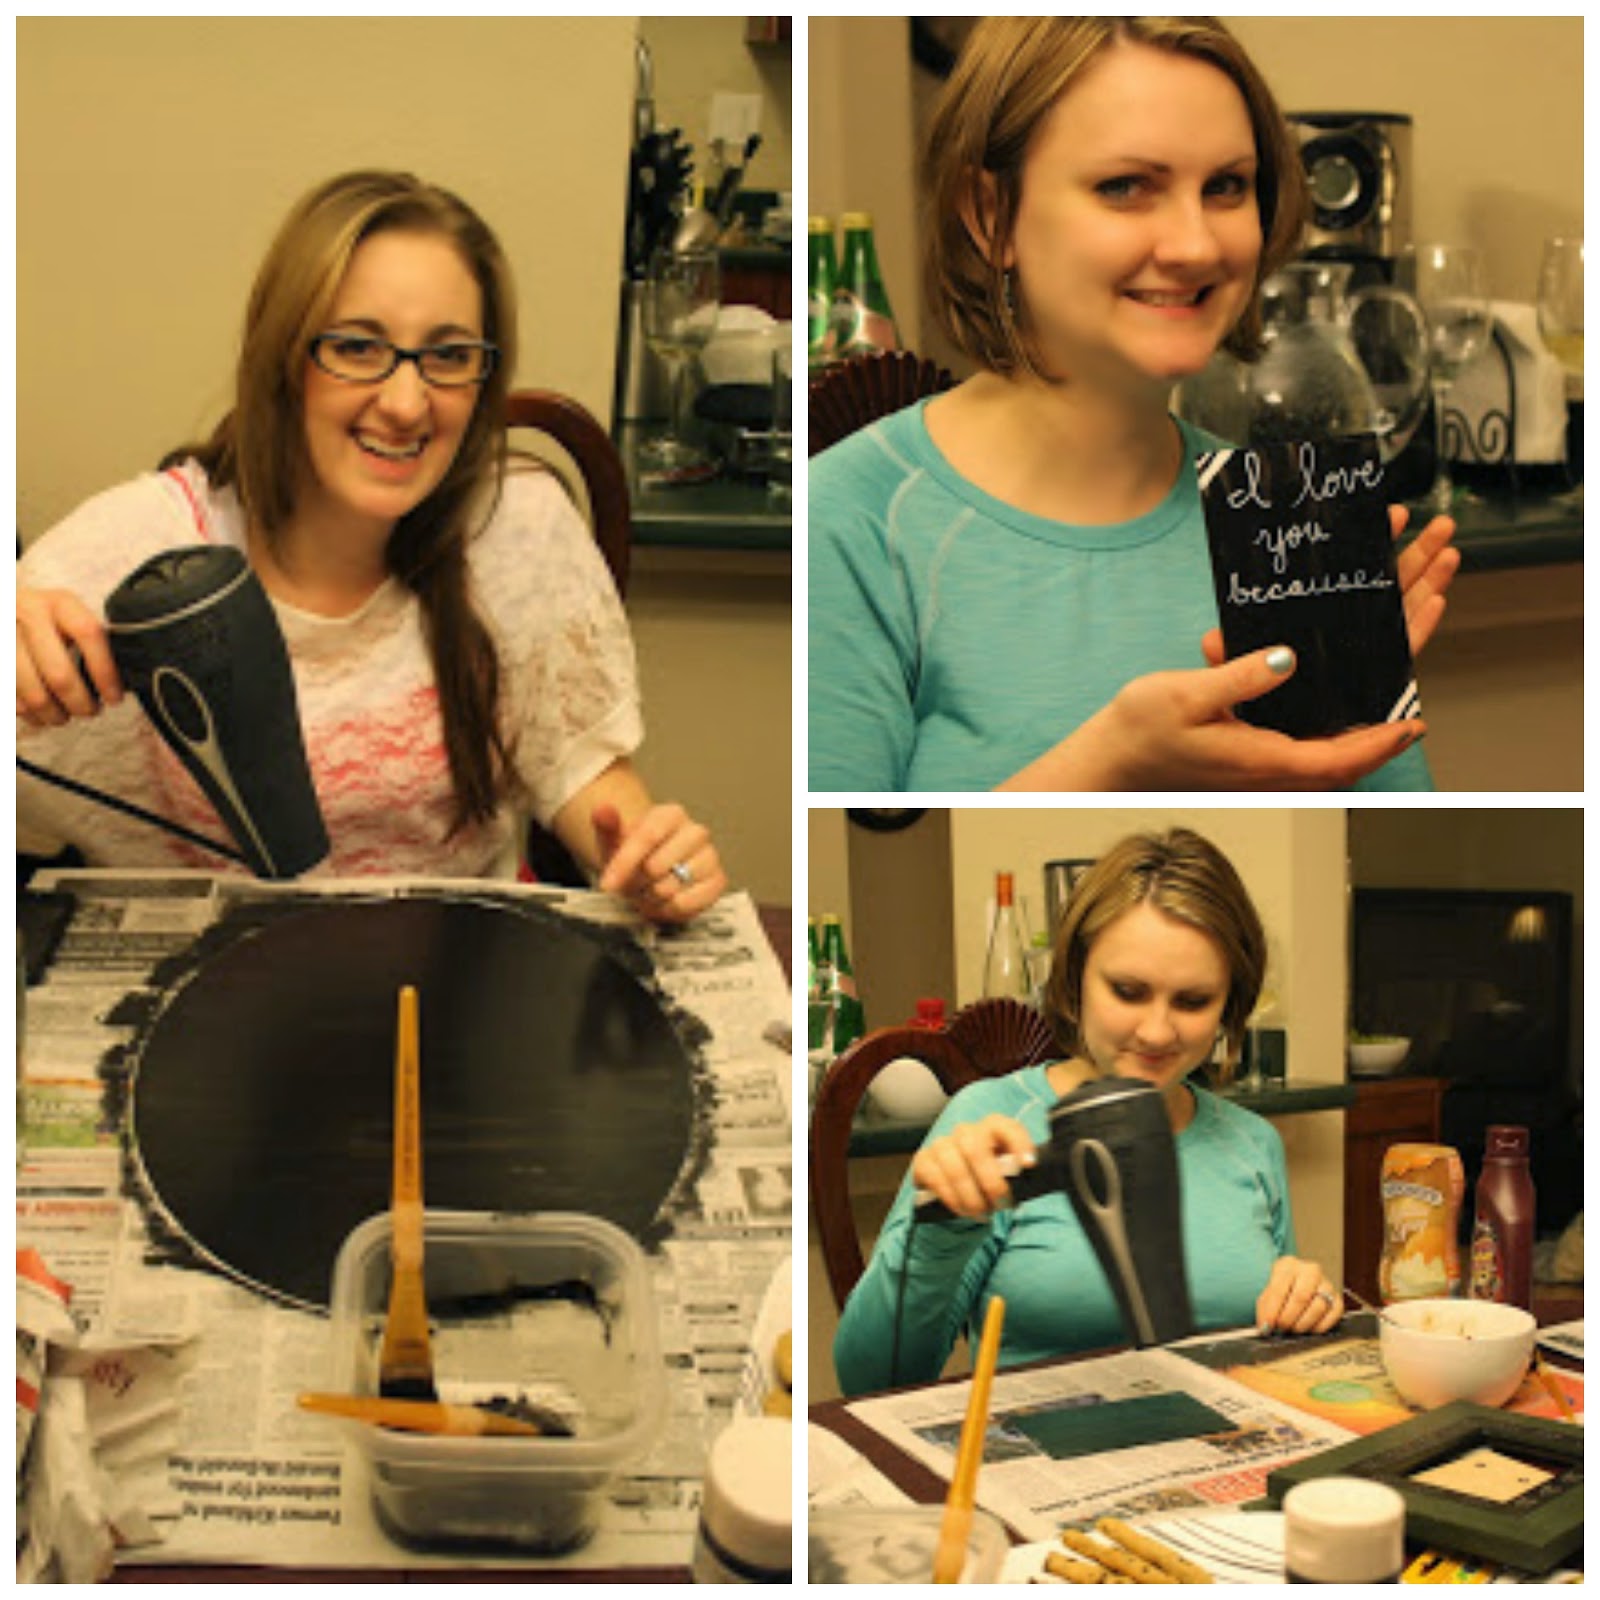
    This weekend I got together with some of the girls from my Bible study and we had some good hang out/crafting time and we made Chalkboards!


    We decided to make chalkboards for our project but I had never used chalkboard paint before and didn't plan ahead very well. The bottle said "allow 1 hour to dry between each layer painted" and of course I didn't even think about drying time!

    We all painted our first layer and used a hairdryer to dry it a little quicker (this is actually a pretty good substitute if you are short on time!). When we painted our second layer, it did make a few lumps but now that it is fully dry you can hardly tell.

    Since it had to dry for 24 hours before you could put anything else on it, our craft night had to come to an end before we could put chalk on our finished projects but here are some pictures from our craft night!


    We had 4 girls there total (including myself) but for some reason I only got pictures of two of the other girls! Sorry Erika! I will be a better picture taker next time!

    Ok! Now on to the tutorial!!

    Step 1:

    As always - gathering the right materials! Here is what you will need:
    Picture frame - whatever size you want. (Michaels) I got a frame that was tall and skinny so I could make a weekly menu.
    Paint brushes (Michales)
    Chalkboard Paint (Michaels) I used Martha Stewart paint and it worked great and was the cheapest of the ones I could find.
    Painters Tape (Michaels)
    White paint pen (Michaels)
    Chalk (Michaels)
      Step 2:

      Prep the frame. Take out the glass, matting, and stock photos that are in the frame. You can can choose to not use the glass like I did or you can keep it like the other girls did (which seemed to work great!)


      Step 3:

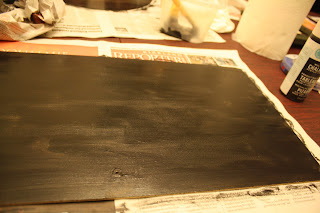
      Start painting! You can either paint the backing of the frame or the glass! Both look good and as far as I can tell, both work!


      Step 4:

      Let first layer dry and paint the second layer. (Sadly, this is when girls night ended) :(

      Step 5:

      Tape off the places that you want to paint with the grey chalkboard paint and paint the areas that you want to be grey with 2 layers of the grey paint. Once its almost dry, peel off the paint.


      Step 6:

      Once its fully dry, use your white paint pen to make little dots (or whatever you prefer) in between the colors.


      Step 7:

      Once dry, place the painted board (or glass) back in the frame! Be sure not to write the days on it before you put it back in the frame! I did and I had to paint over them because they were hidden by the frame once I placed it in. Must I always learn the hard way? :)

      Once the board is in the frame you can write "MENU" at the top like I did or whatever else you like! Here is what it looked like when I finished:


      You can see it right when you walk into the kitchen and it just happened to have the perfect spot in our home!

      Thanks girls for a great craft night!!

      Before you go, I have an exciting announcement!! I will be starting my own weekly link party here on my blog!! I am SO excited! It will open up on Tuesday at midnight so get ready to link up your creations!!

       photo TheWellCraftedHome_zps26a4d5c3.png

      Friday, April 13, 2012

      Sunburst Mirror

      I love all the sunburst mirrors that have become popular in decorating! I would love to have one in my bedroom but some of them cost upwards of $300.00!! WAY out of my budget!

      Good thing Kate from Centsational Girl created this version of the same mirror!


      All the materials for this mirror tutorial probably cost her about $10 - $15!! What a great deal for such a beautiful creation! You could put a mirror into this piece or you could even make it a picture frame!

      I have a wall in my house that is just calling to have one of these on it!! I can't wait!

       photo TheWellCraftedHome_zps26a4d5c3.png

      Wednesday, April 11, 2012

      Pantry Door Picture Frame

      We are getting back to the regular posts again! Yay!! Now that we are back on track, I wanted to start off with a really amazing project by Katie from Creatively Living. She made one of the most beautiful picture frames I've ever seen!


      This Picture frame looks so expensive but it is so easy to create with a few items from home! I just love how she reused things from a past remodel to make her home even more beautiful!

      In this tutorial, Katie will show you how to create your own hallway picture frame! Now I just need to start taking pictures to fill up this picture frame! :)

       photo TheWellCraftedHome_zps26a4d5c3.png