Image Map
Showing posts with label Glass Etching. Show all posts

Monday, November 19, 2012

Luminary Advent Calendar - Feature!

I have always loved advent calendars even though I never really had them growing up. I think its a cute idea! I've seen them done all sorts of ways. I've seen ones made with candy inside, verses inside (I think that could be a great way to teach your kids the story of Jesus!), Ive seen ones made from muffin tins, burlap, and stockings but none of them have been quite as warm and aesthetically pleasing that the one I'm about to show you from Taryn at Design, Dining + Diapers.


So awesome right? I love that these serve more purposes than just being an advent calendar. They are part of your decor, they add warmth, lighting and character to your Christmas decor, and all of your friends will think that you bought them! Which is always a plus when doing a DIY craft :)


 photo TheWellCraftedHome_zps26a4d5c3.png

Monday, April 16, 2012

Made By Me Monday #2: Hurricane Vases

I am always excited to share the crafts that my family and I have made! This week, I got together with my mom and my sister (my usual crafting partners) and created these awesome hurricane vases!


Here is the tutorial for how we created these!

Step 1: Assemble the "ingredients"
4 Stem Candle Holders (Dollar Store)
3 Little Vases (Dollar Store)
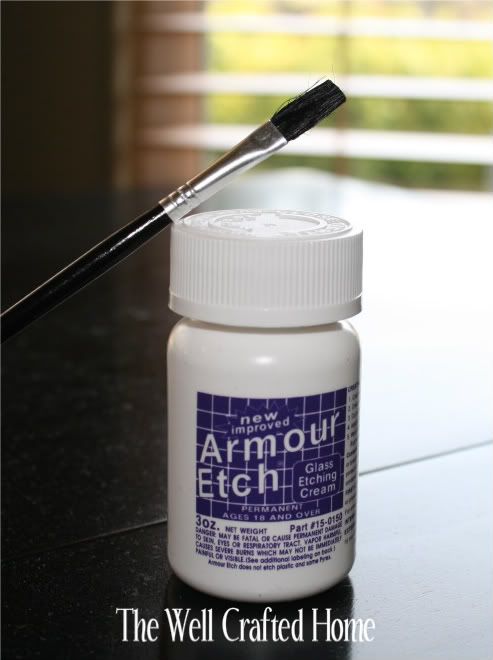
Glass Etching Cream (Michaels)
Painters Tape (Michaels)
Cheap Paint Brush (Michaels)
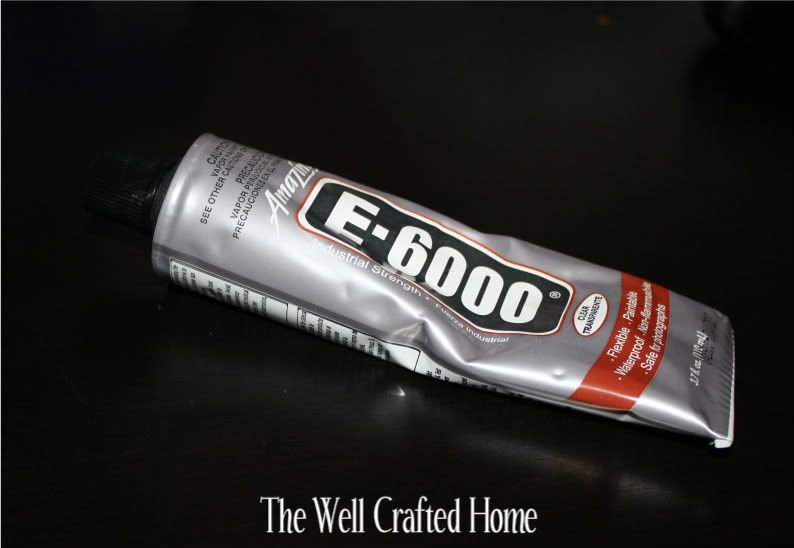
E-6000 Glue (Michaels)
Newspaper
    Step 2: Etch the small vases

    Get paintbrush and etching cream and lay down the newspaper over your surface (this stuff is made of chemicals that eat away the surface of the glass so you can imagine what it would do to your table! Yikes!)

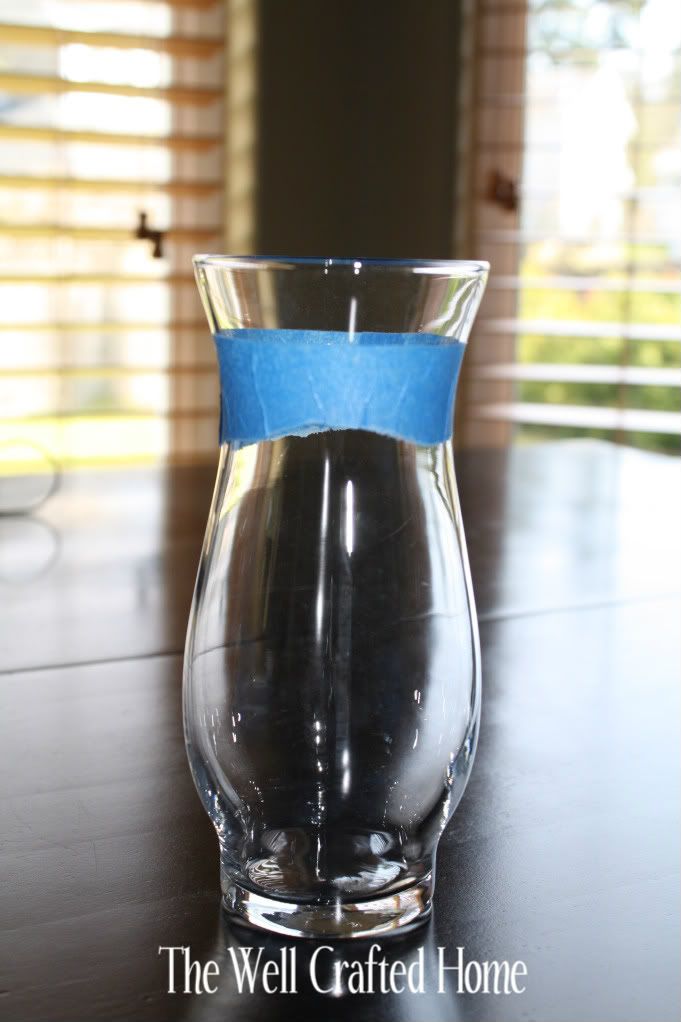
    Tape off the area that you want to paint. Make sure there are no gaps!

    Glob on the paint pretty thick and try to make it an even coat. Leave it on for 5 Minutes and wash off right away with luke-warm water.

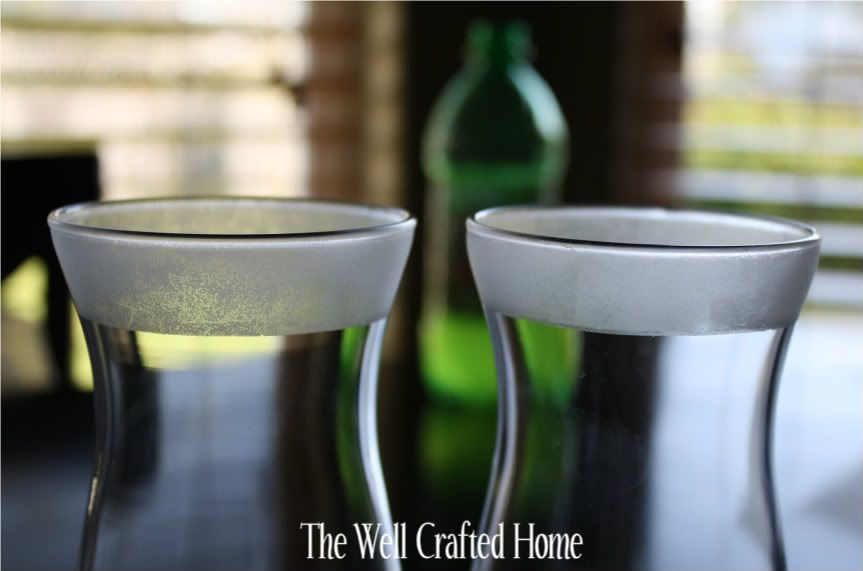
    This is what it should look like when it is dry and you take the tape off. If you want to make the same set of these vases that I did, you should make three of these!

    Step 3: Attach the base for the short hurricane vases (Total of 2 vases)

    Start with the small frosted vases that we just finished.

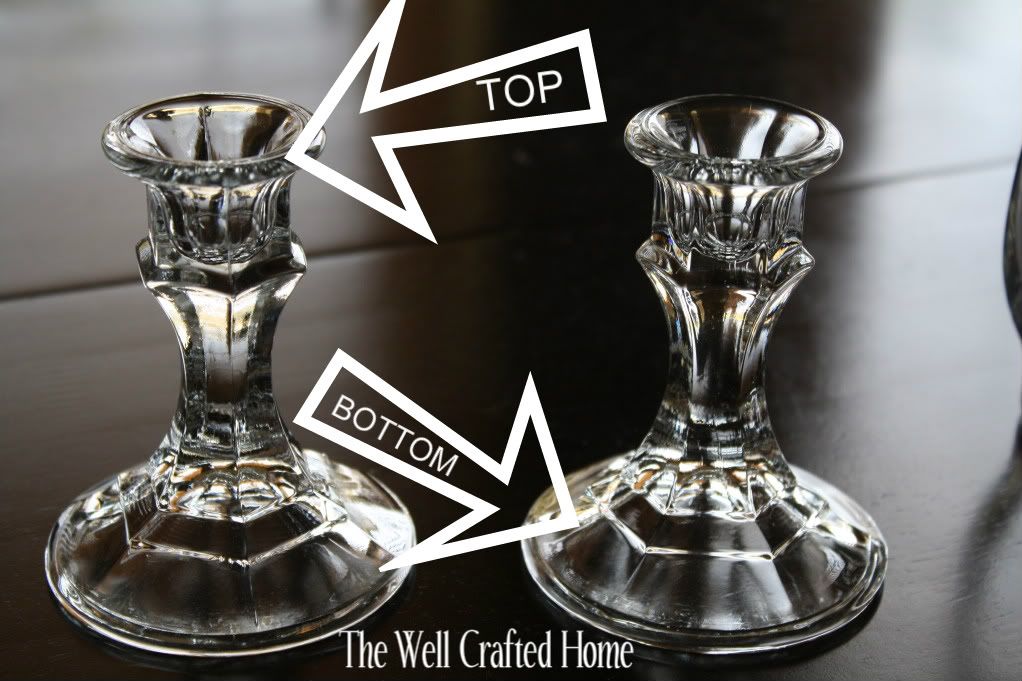
    Grab the small candle holders (For the small hurricane vases you will only need one of these)

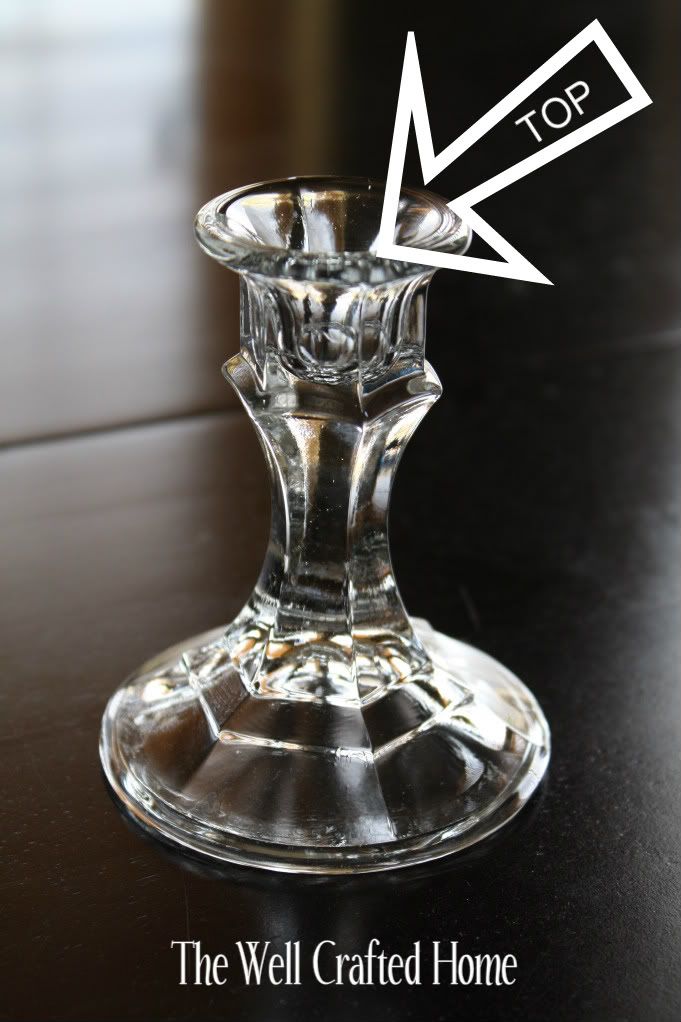
    Add some of the E-6000 to the TOP of the small candle holders

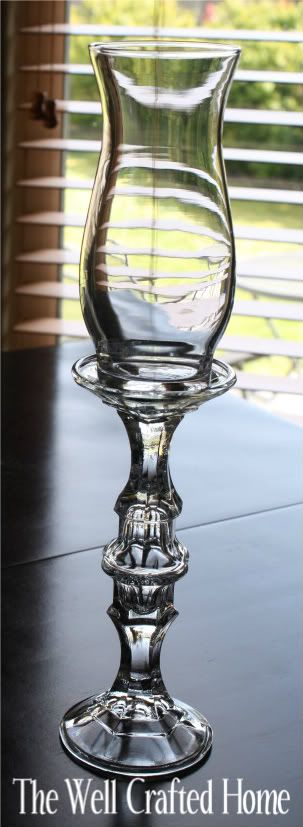
    It should look like this when you are finished. But make sure to give it enough time to dry!

    Step 4: Attach the base for the large hurricane vase (Total of 1 vase)

    Again, we are going to start with the frosted small vases that we made in step 1.

    Grab 2 of the small candle holders for this one!

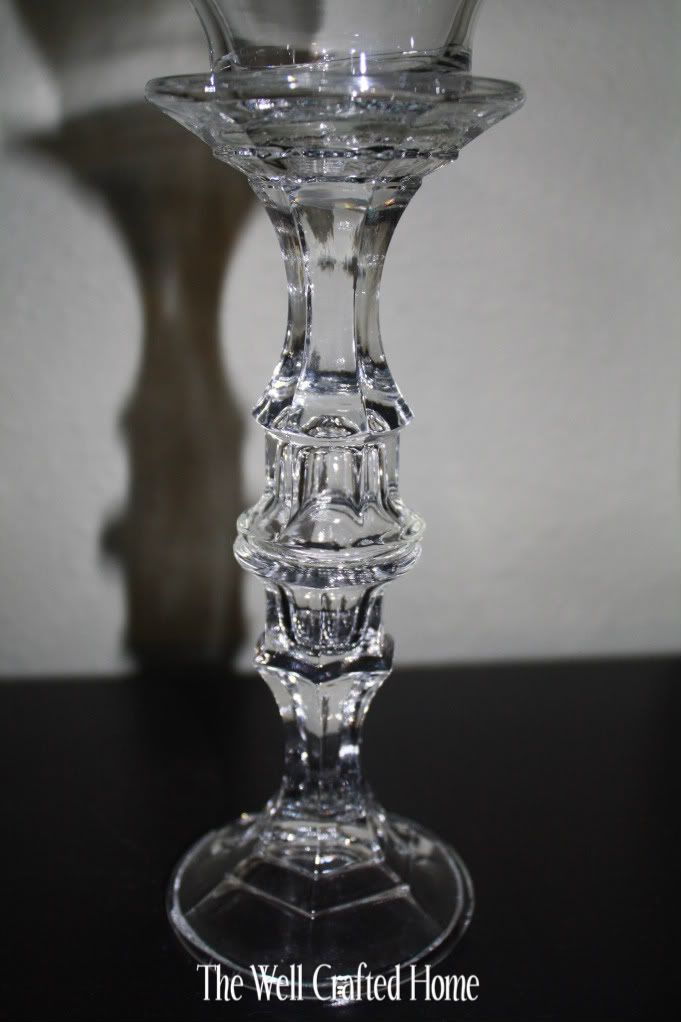
    Glue the tops of the two small candle holders together with the E-6000. Let dry.

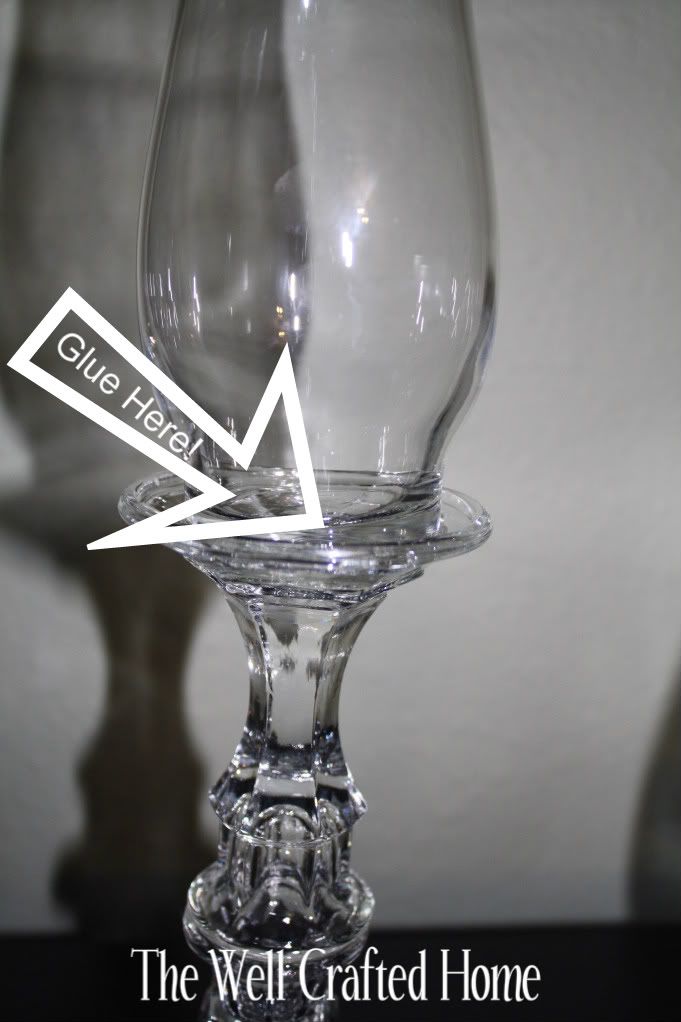
    Glue the base of the small frosted vases to the top of your two glued together candle holders with the E-6000. Let Dry.


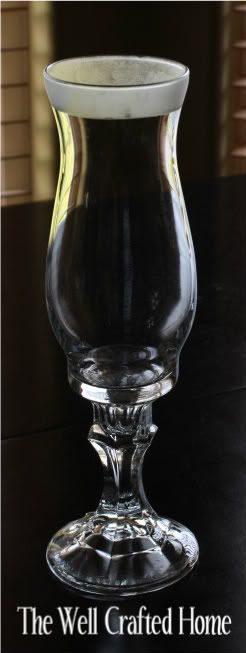
     When I finished all of the 3 vases that I made, I put a little bit of uncooked rice in the bottom and added some small pillar candles. Here is what they look like finished!


    Send me a message if you have any questions! I cant wait to see your projects!

     photo TheWellCraftedHome_zps26a4d5c3.png

    Thursday, April 12, 2012

    Portion Control Wine Glass

    It seems that over the past few years, our society has become more aware of our health, fitness, and eating habits. Well, today I'm bringing you a project that will make this a little bit easier!

    Jenny from Craft Test Dummies shows us how to tackle some portion control when it comes to our beverages.

    I'm sure you have all seen those cute little stem-less wine glasses that fit so perfectly into the palm of your hand! I love them so much! They are so cute but they are pretty easy to over-fill.

    Take a look at this clever idea that Jenny gave us:


    I have posted about Glass Etching before and that post was more about the decorative side to this technique. This post is not only decorative but is also VERY functional!

    This is perfect for people who are on a diet or for people who are just trying to stay healthy.

    Thank you again, Jenny, for a great post and tutorial that is so functional and beautiful!

     photo TheWellCraftedHome_zps26a4d5c3.png

    Friday, March 30, 2012

    Glass Etching at Home

    I have always loved the look of etched glass but I always thought you had to buy the glass after it had already been etched. Much to my delight, I was very wrong! :)

    I am a big believer in finding some beautiful pieces at thrift shops and dollar stores and I think those places would be a great start to this project. You can find a really beautiful cake stand, a vase, some candle holders, or I bet it would even work on a cool mirror that you can find!

    This tutorial from Make It and Love It will show you how to create your own etched glass on whatever glass item you can find!


    I just love that you can customize so many different things to fit the style and decor of your home. Now I just have to find out what to create!

    If you decide to try this awesome project I would love to see it! I think I may even feature some of them them in a follow up post! You can send photos of your projects to my email on the Contact Page of my blog.

    Have fun!

     photo TheWellCraftedHome_zps26a4d5c3.png